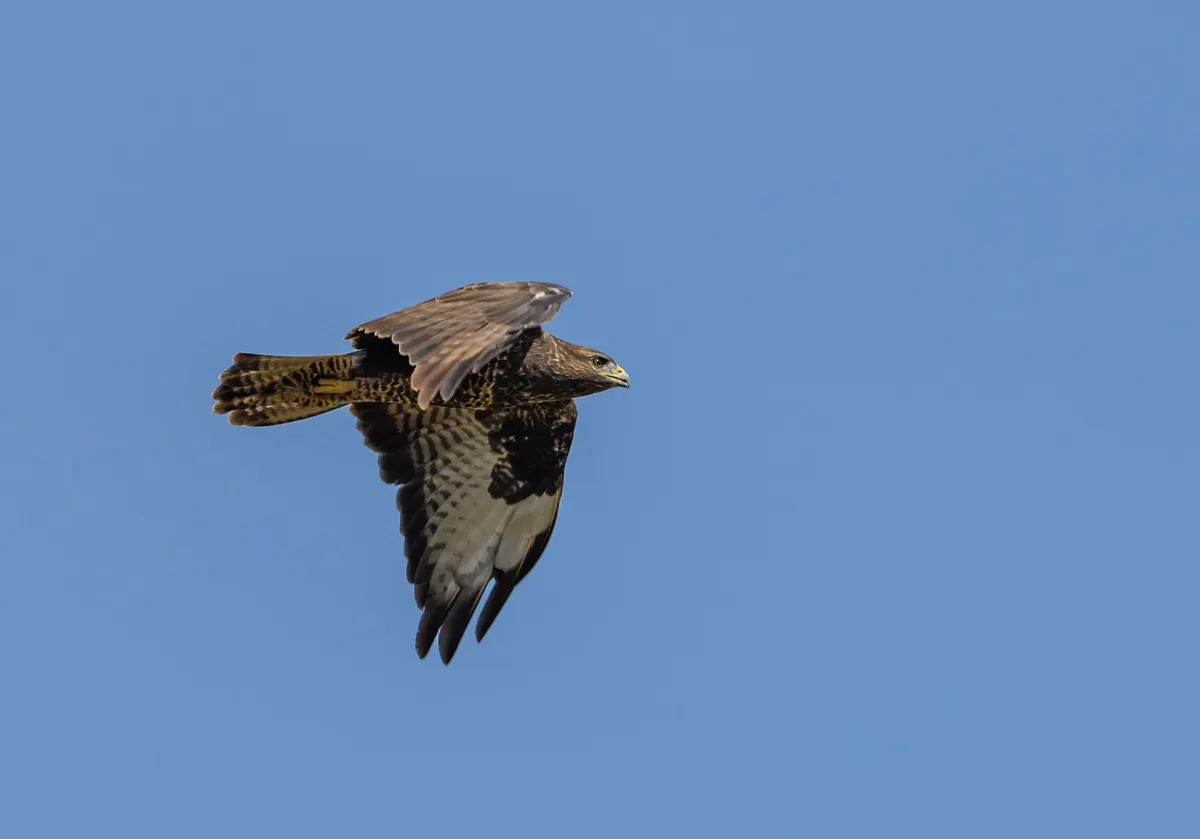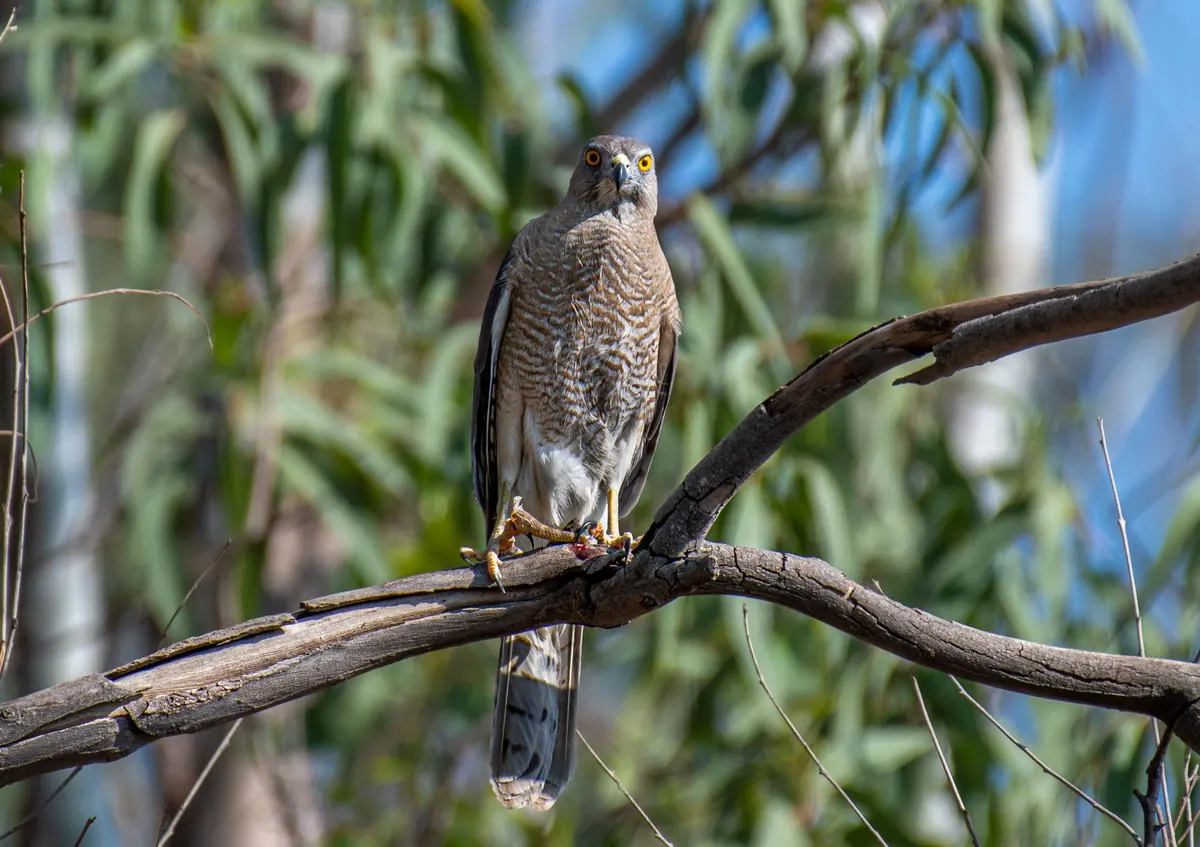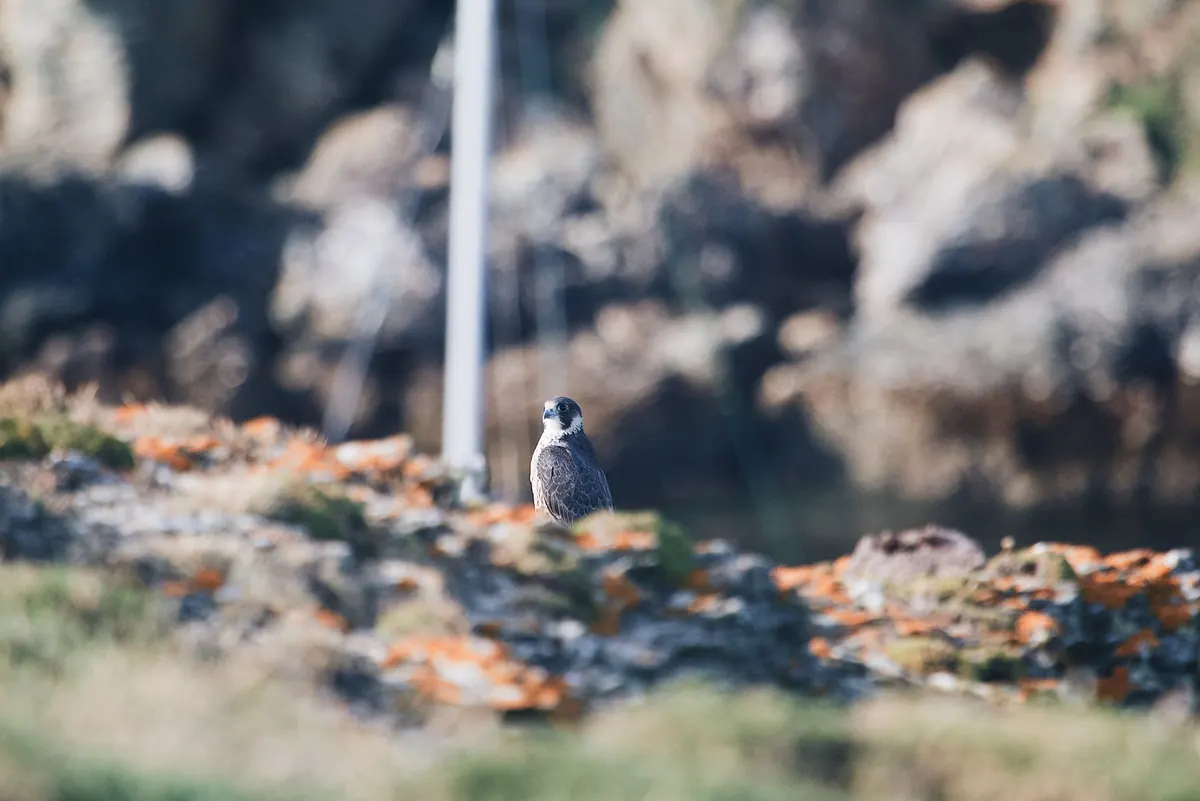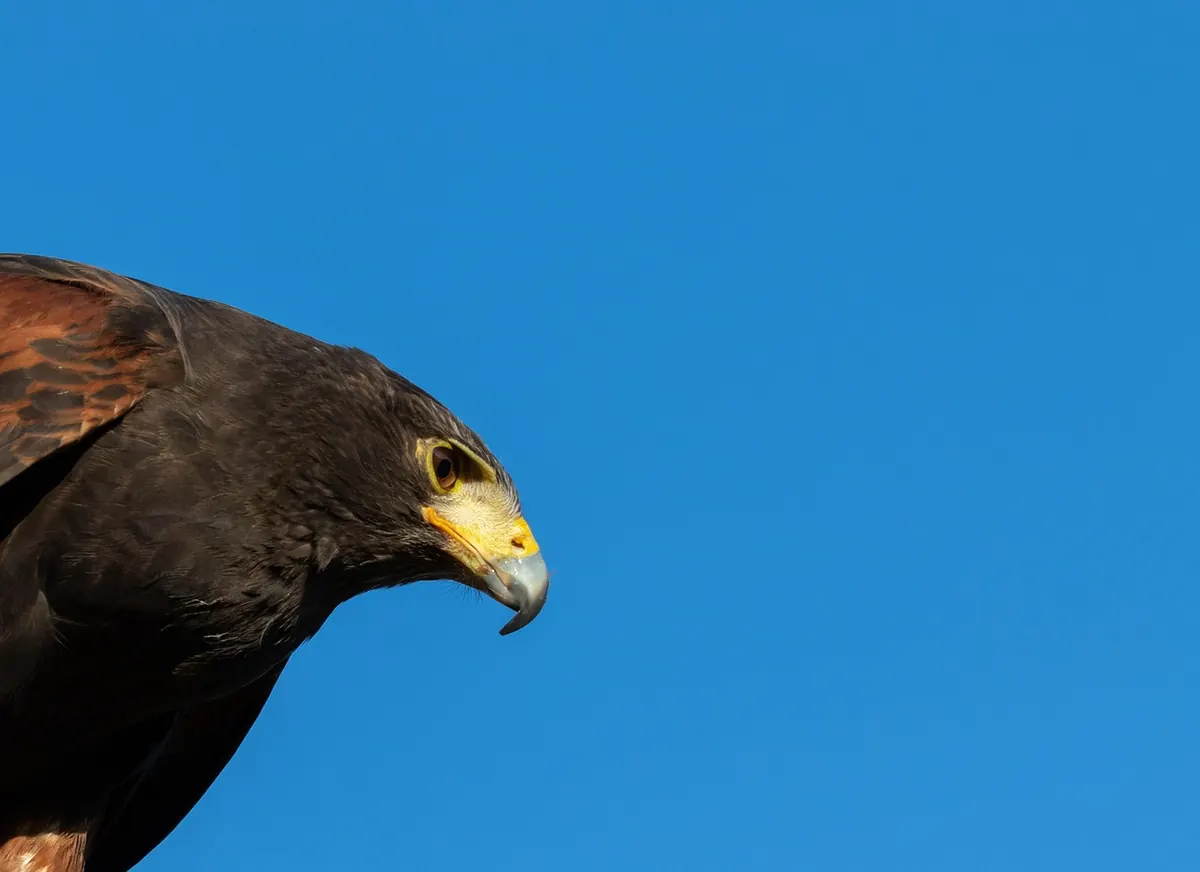
A buzzard on a fence post looks like the easiest photograph of the week. Take three steps towards it and it is fifty metres away, banking over the ridge, leaving you with a blurred tail feather and a lesson. That is raptor photography in one movement: the bird decides, not you.
Getting worthwhile images of birds of prey has far less to do with your lens than with how you behave before you press the shutter. Good fieldcraft will put you closer to more birds than any piece of kit, and it will leave them where you found them.
Learn the bird before you leave the house
Raptors do not share a single tolerance level. A kestrel hovering over a motorway verge, a red kite in an area where feeding stations draw a crowd, and a buzzard on a roadside post are often surprisingly relaxed about people. A goshawk, a merlin or a hen harrier is not. Assume the second group until you have watched a bird long enough to know better.
Timing matters as much as species. Courtship and display flights run through late winter and spring, which means birds are concentrating on each other and on territory rather than on you — but it also means nests are being built. Learn what a bird looks like when it is hunting, when it is travelling, and when it is carrying food in a straight line. That last one nearly always means young somewhere close by. Stop there, note the direction, and walk the other way.
Fieldcraft: how to move around a raptor
A direct, steady approach reads as a predator. So does a sudden stop, a raised camera and the clatter of a tripod. Approach diagonally or on a tangent, staying low, using hedges, walls and gateways as cover. If the bird's head comes up and it fixes on you, stop, take a few frames if you can, and let it settle. If it flies, do not follow it. That is how you lose a bird for the day and, over a season, how you push one out of a site altogether.
- Keep off the skyline. Silhouetted against the sky, you are visible from every direction.
- Move in short bursts with pauses, rather than one continuous walk.
- Cover your hands and face, or at least avoid bright, flapping clothing.
- Keep your distance at nest sites and never position yourself between a bird and its young.
- Leave gates and fences as you find them, and stay on rights of way where land is private.
Distance is not a fixed number, because a lens and a crop factor change what is usable. Practically, the test is behavioural: if a bird is looking at you more than it is looking at the ground, you are too close.
Hides, cars and temporary blinds
The car is the best hide you own
Seen from a vehicle, you are a familiar shape that does not walk. Kestrels, buzzards, kites and short-eared owls hunting over roadside fields often allow much closer views from a parked car than they ever will on foot. Switch the engine off, rest the lens on a beanbag on the window frame, and avoid stopping in passing places, gateways or on soft verges. Park somewhere lawful and safe, and stay put.
Pop-up hides and reserve hides
Permanent public hides work because the birds have grown used to a structure that never chases them. A pop-up hide can do the same if you pitch it, retreat, and let the site settle for a while before returning. What you should not do is erect anything at or near a nest, or build a permanent structure on land without permission. On some protected sites, consent is needed before you set foot off the path, let alone place a hide.
Baiting and lures: where the line sits
Feeding stations have made photographs of red kites and other scavengers almost routine, and there is nothing inherently wrong with a well-run site. The problems come in clusters: birds drawn onto roads and into traffic, unnatural concentrations that help disease spread, diets skewed towards one food, and hungry birds becoming dependent on handouts. If you photograph at a feeding station, say so in your caption rather than presenting it as a wild encounter.
Using live vertebrates as bait is unacceptable and is very likely to be an offence. So is releasing non-native prey to attract raptors. Placing carrion near a nest to pull a bird into a photogenic position, or baiting during the breeding season to hold a bird away from its young, is disturbance whatever the intention behind it. Sound luring is the same argument: playback during the breeding season can disturb birds and, for the most strictly protected species, may be an offence.
Nests, law and location secrecy
In the UK, all wild birds, their nests and their eggs are protected by law. For species on Schedule 1 — which includes many of our raptors, such as peregrine, goshawk, hen harrier and osprey — there is stronger protection against disturbing a bird at or near a nest containing eggs or young. Photographing those species at the nest normally needs a licence from the relevant statutory conservation body. Even from a distance, with a long lens, you can be the reason a bird leaves a nest, and eggs chill quickly.
Legislation differs across England, Scotland, Wales and Northern Ireland, and it changes. If a shoot depends on getting close to a Schedule 1 nest, take advice from the statutory body for that country before you travel. This is general guidance, not legal advice.
Then there is the quieter duty. Do not publish precise nest locations. Strip location data from images, avoid naming a site in a caption, and think twice before posting a photograph of a rare bird in a small area. Persecution remains a real pressure on some species, and a well-meaning post can do damage that no amount of fieldcraft will undo.
A five-step routine before you raise the camera
- Watch for ten minutes first. Work out whether the bird is feeding, travelling or nesting.
- Pick an approach that uses cover and does not cut across the bird's line of sight.
- Get the settings right before you move in — wide aperture, fast shutter, auto ISO.
- Take the shot, then stop. Do not follow a bird that has moved away from you.
- Note what you saw, leave the site as you found it, and save the location for yourself.
The photographers who produce the strongest raptor work are rarely the ones who got closest. They are the ones who learned when not to try, turned up in poor weather, sat still for hours, and went home with nothing rather than pushing a bird one field too far. If you want more opportunities, that patience is the whole method.
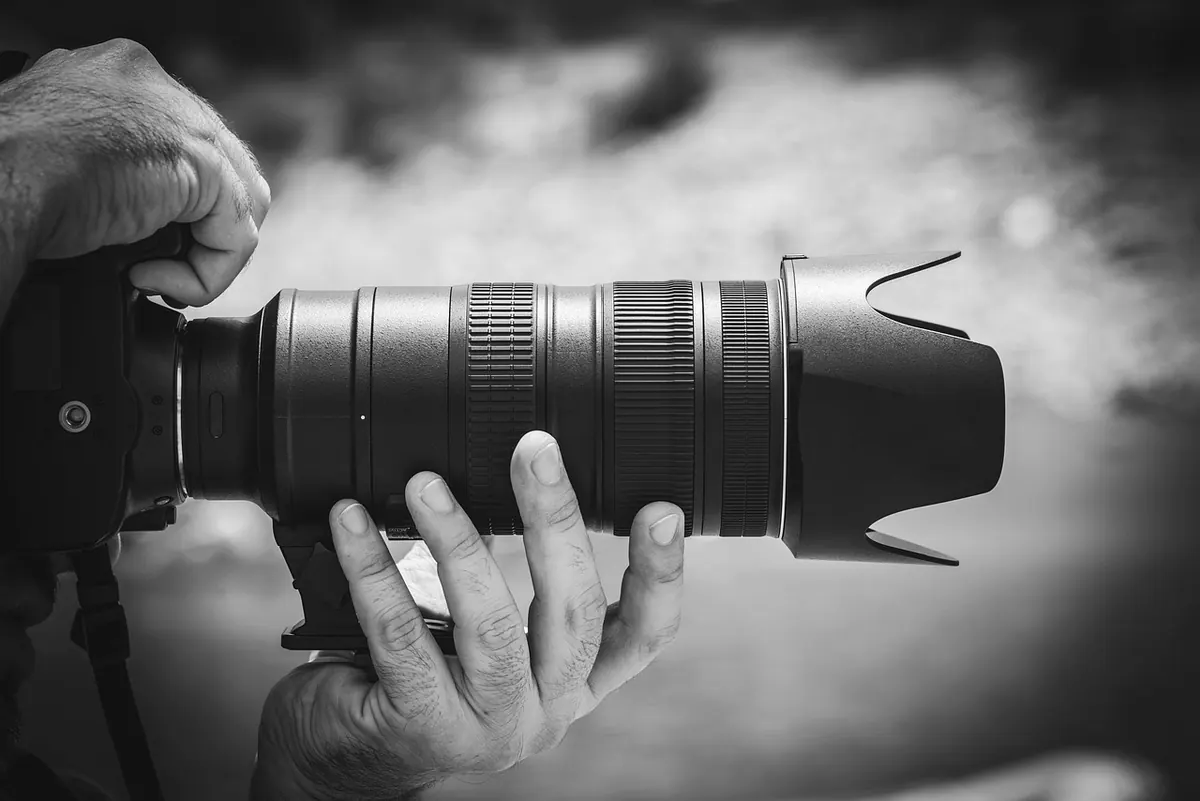
Photo: kirill_makes_pics / Pixabay